I remember when my buddy first brought up adding sand to potting mix, and honestly, I chuckled. It sounded like he wanted me to set up tiny beaches for my plants.
A bit curious and still a little doubtful, I decided to dive into some research before letting my plants anywhere near sand.
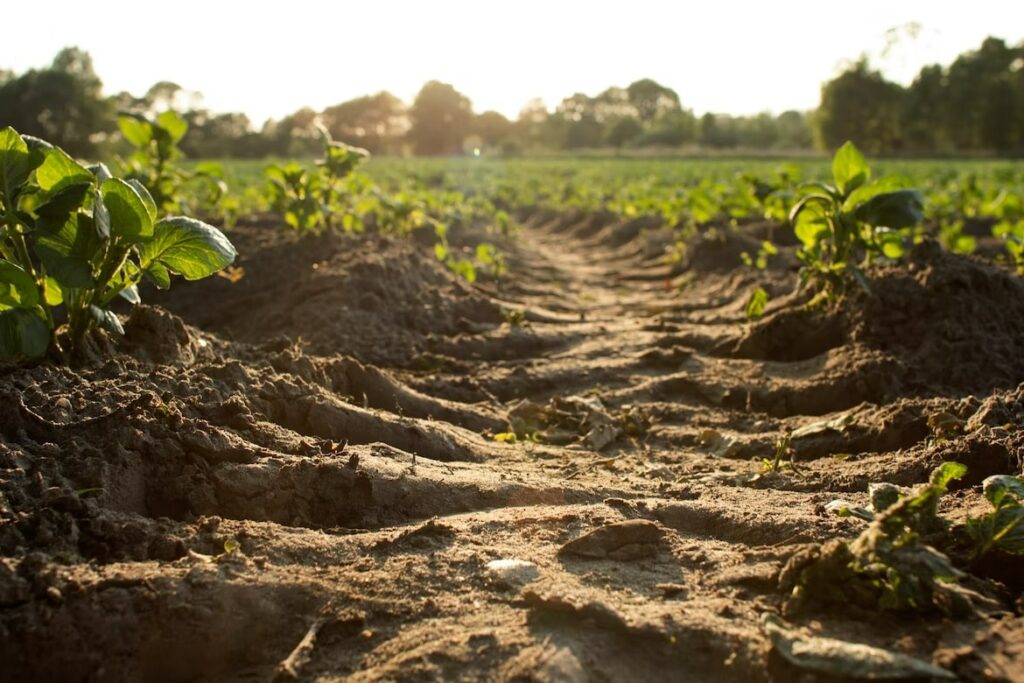
Turns out that sand is fantastic for preventing soil from getting too compact, and it improves drainage—a true lifesaver for plants that love well-draining soil.
After doing my homework and witnessing the lush greens and bright blooms firsthand, I was convinced. Let’s explore how this simple sandy tweak can give your garden a buzz, making each plant stand out like it’s the main event!
Why Add Sand to Your Potting Mix
Improves Drainage
When you mix sand into your potting soil, you’re helping water drain faster. This prevents the roots from sitting in water too long, which reduces the risk of root rot and other water-related issues.
It’s a small change, but it can really improve the way you care for your plants, making sure they get the right amount of moisture to stay healthy and happy.
Aerates the Soil
Incorporating sand into your potting mix creates tiny gaps and passageways between the soil particles. This makes a nice airy space where roots can spread out comfortably.
Roots need to breathe too; they take in oxygen, which is super important for their growth and health. When roots get enough oxygen, they can absorb water and nutrients more effectively.
So, those little air pockets you’re creating with sand really help your plants grow better.
Prevents Compaction
Ever notice how soil can get all packed down and dense over time? This makes it tough for your plants to stretch their roots and get the nutrients they need. By mixing in a bit of sand, you’re giving your plants a break.
Sand doesn’t squish together as soil does, meaning it keeps the mix light and airy. This little change makes a huge difference, allowing the roots to spread out easily and absorb water and nutrients better.
Enhances Nutrient Distribution
Sand may not pack a ton of nutrients by itself, but it plays a big role in making sure those nutrients are evenly spread out in the soil.
Why does sand help so much? It all comes down to how it improves both drainage and airflow. Sand particles are bigger and more irregular compared to the tiny particles of clay and silt.
When you mix sand into the soil, it creates large gaps or pore spaces. These gaps are great because they let air and water move through the soil more easily. This is crucial for a few reasons: better drainage, better airflow, and even nutrient distribution.
Assists with Seedling Emergence
When you add sand, the soil gets lighter and fluffier. This makes it much easier for the tiny roots to push through and grow. No more struggling through heavy, dense soil. Your seedlings will have an easier time getting started, and they’ll grow stronger.
Plus, lighter soil helps keep seedlings healthy by giving them just the right amount of room to grow without being too cramped.
Helps Control Pests
Sandy soils dry out quickly, and many garden pests, like those annoying fungus gnats, prefer moist and humid spots. By mixing sand into your garden soil, you’re making it less appealing to them.
When the soil dries faster after watering or rain, pests don’t have the damp environment they love to thrive in. This means fewer pests and a healthier garden overall.
Regulates Soil Temperature
Sand can soak up heat during the day and release it slowly at night. This means the soil doesn’t get too hot or too cold quickly; it stays more consistent.
This steady temperature is great for plants, especially in places where the weather can be all over the place. So, if you’re dealing with unpredictable climates, sand in your soil can really help your plants grow better.
How to Mix Sand into Potting Soil
Choose the right type of sand
Knowing the different types of sand is really important so you can pick the right one for the job. Sand is sorted by the size of its particles, and this affects how it acts in the soil.
Fine Sands
These include play sand or beach sand, which are very fine and can compact in the pot, reducing aeration and drainage. These sands are smooth to the touch and, when held, can feel almost like powder.
The tiny size of each grain creates a large surface area in a given volume of sand. Fine sands have the tendency to compact when wet.
This is because the small particles can fill in all the gaps between each other, resulting in a denser, tighter soil structure with less pore space.
Due to the compaction, fine sands can reduce aeration and draining when used in potting mixes. Plant roots require oxygen to thrive and the compacted sand can suffocate roots and slow down water drainage, risking root rot.
For these reasons, fine sands are generally not recommended for use in potting mixes due to these issues. While their smooth texture may seem appealing, it’s counterproductive for healthy plant growth when used in large quantities.
Coarse Sand
Coarse sand, such as builder’s sand or horticultural sand, consists of larger and more irregularly shaped particles. This type of sand is gritty to the touch, and you can usually see the individual particles with the naked eye.
The larger size of the particles means that they don’t pack together as tightly as fine sands. This helps to maintain pore space within the soil even when wet. This structure improves aeration and drainage within the soil.
It creates channels that allow air to circulate and water to flow through more easily.
Coarse sand is ideal for mixing into potting soils or for amending garden beds. The improved aeration and drainage help to create an environment conducive to root development, leading to healthier plant growth.
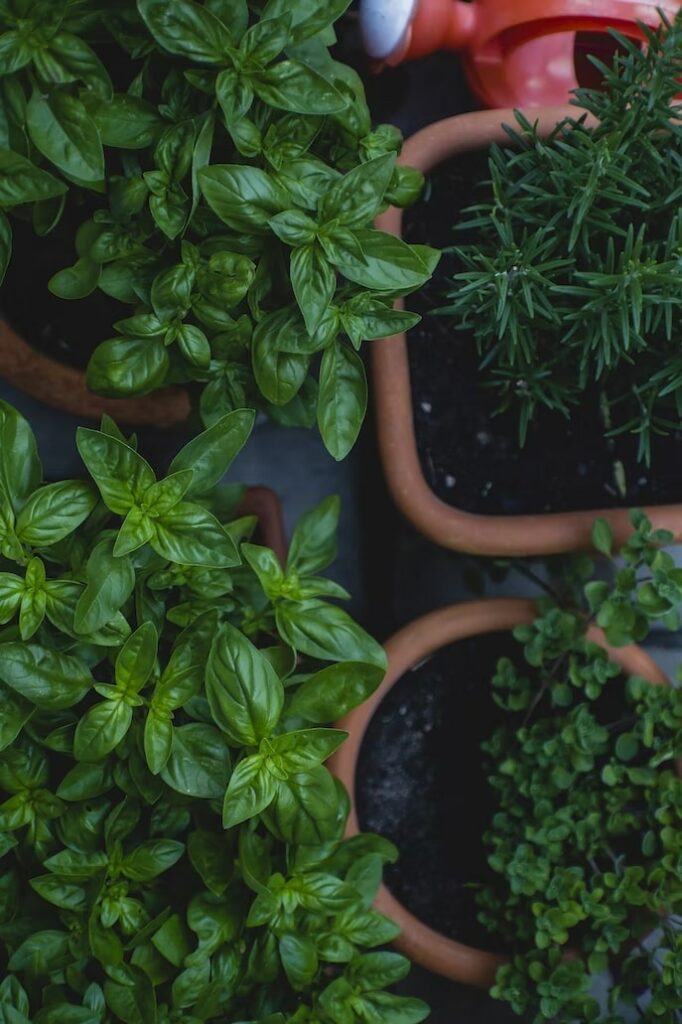
It’s especially useful for plants that need well-drained soil, such as succulents, cacti, and some perennials.
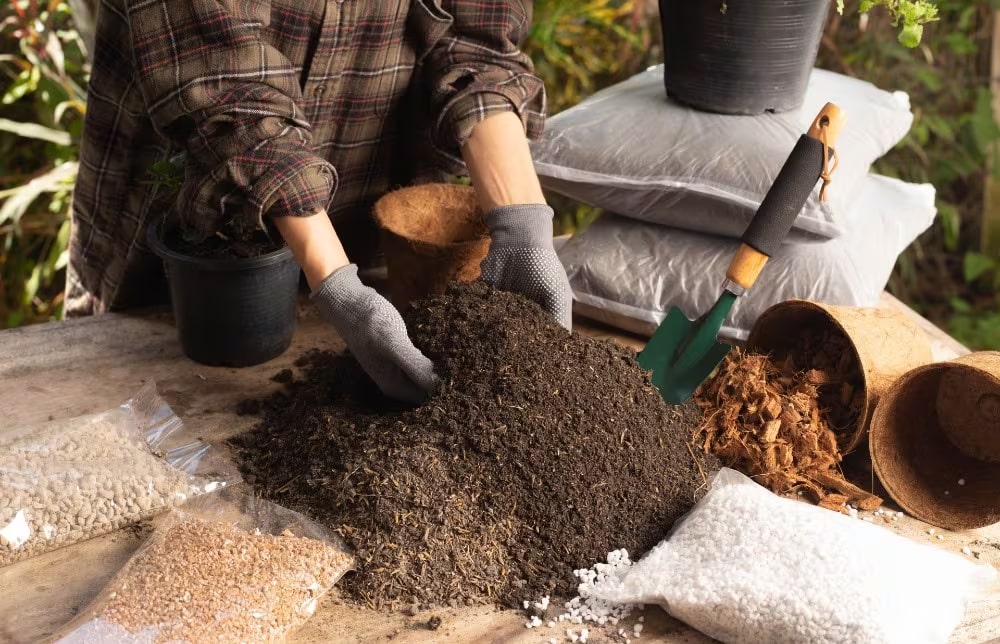
Prepare your materials
Before you start creating your potting mix, it’s essential to gather all your materials. Having everything at your fingertips will make the process a breeze and ensure you’re set up for a successful potting mix right from the start. Here’s what you need.
Base Potting Soil
The base of your potting mix is super important. By picking high-quality potting soil, you give your plants essential nutrients and a solid starting point. From there, you can add things like coarse sand to improve the mix even more.
Appropriate Coarse Sand
Using the right kind of coarse sand can really help with drainage and airflow in your potting mix. Go for something like the horticultural sand or builder’s sand since they have just the right texture and particle size for gardening.
Mixing Container or Wheelbarrow
The size of your container should match the volume of the potting mix you plan to create. For smaller, indoor projects, a big mixing bowl or container might do the job.
If you’re making a mix for lots of plants or a large garden, a wheelbarrow is a good choice since it can hold more.
Shovel or Sturdy Large Spoon
When it comes to mixing, the tool you use depends on how much you’re making. For big batches in a wheelbarrow, a shovel works great. For smaller amounts in a mixing container, a big spoon or a garden trowel will do the trick.
Protective Gloves
It’s important to keep safety and comfort in mind. Wearing gloves can protect your hands from any irritation caused by the dry potting mix and also help you grip your tools better.
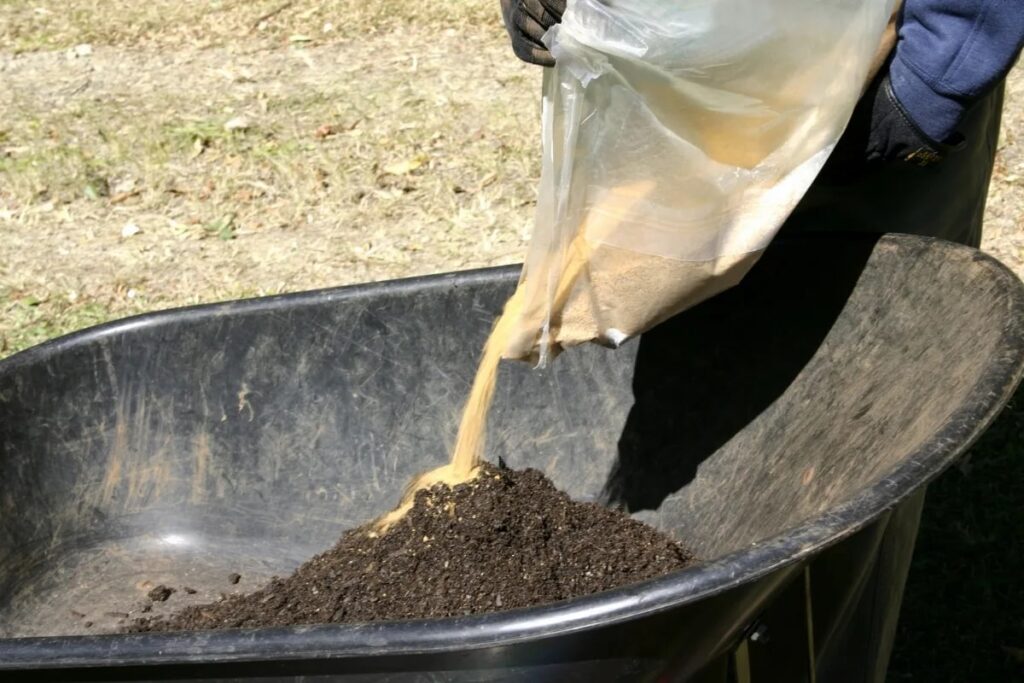
Measure the ingredient
Depending on what your plants need, you can change how much base potting soil and coarse sand you mix. As a general rule, aim for about 10-20% of your total mix to be coarse sand.
But remember, this can change based on how much drainage your plans require. Some plants might need better drainage, so you might need to add more sand. Others might not need as much, so you can use less sand.
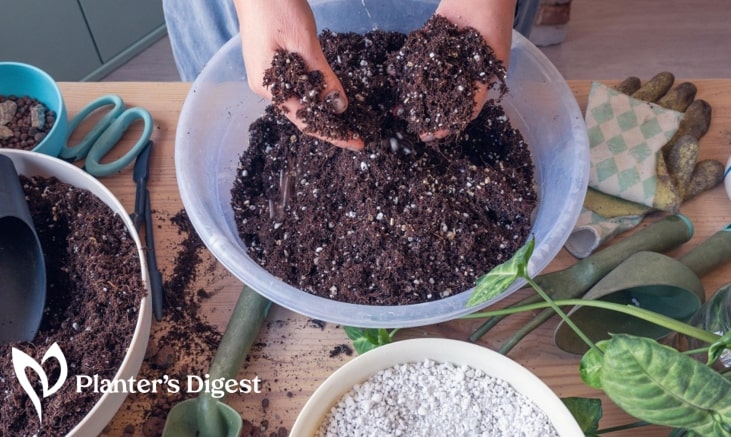
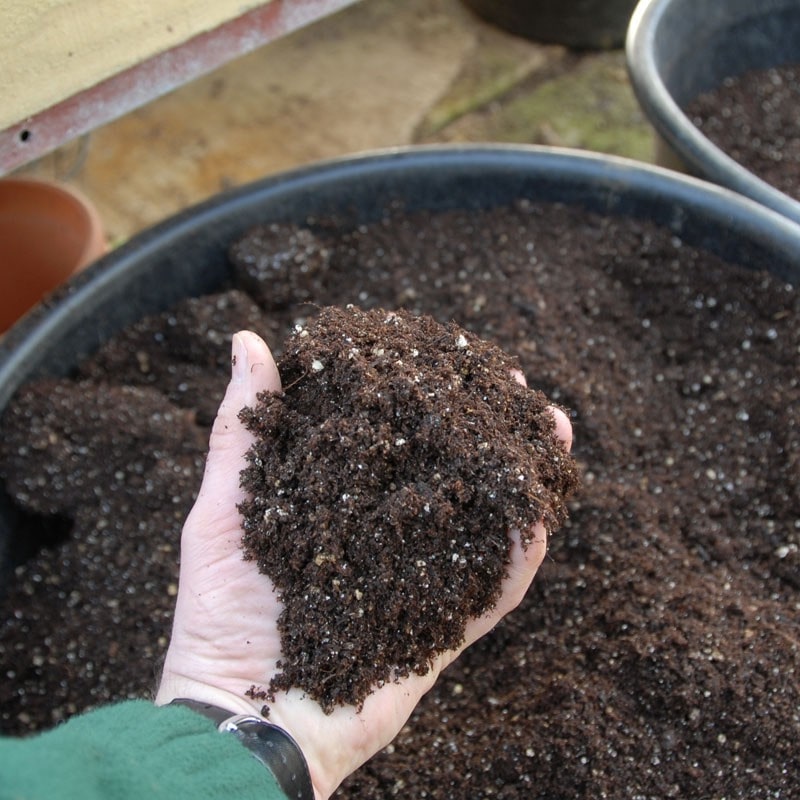
Mix the ingredients
You can start by pouring the base potting soil into your mixing container or wheelbarrow. Next, sprinkle the right amount of coarse sand on top of the soil. Then, grab a large spoon and mix the two together really well.
You want to make sure the sand is spread evenly all the way through the potting soil. If you’re making a big batch, try turning the mixture from the bottom to the top a few times.
This helps make sure everything is combined properly and every part of the mix has sand in it. As a result, your plants will get the consistent drainage they need.
Moisten the mix
After you’ve mixed everything together well, you might want to lightly moisten your potting mix with a bit of water. Now, this part is optional and really depends on how you plan to use the mix right away.
If you add water, it makes the potting mix easier to handle and work with. Plus, if you’re thinking about transplanting or plotting plants right away, a slightly damp mix can be a much friendlier home for new roots.
The moisture can help the roots settle in more comfortably, giving your plants a better start. But if you’re not using the mix immediately, you can skip this step and moisten it when you’re ready to plant.
Clean and store
Once you’ve got your mix just right, it’s a good idea to clean up your gardening area. Start by washing off your tools, like your shovel, spoon, and mixing container or wheelbarrow.
This will keep any leftover soul or sand from sticking and getting hard, which makes your next gardening task a lot easier. If you’ve got some potting mix left over, you’ll want to store it the right way so it stays fresh.
You will need to put the extra mix in an airtight container or a sealed bag. This keeps it dry and safe from moisture, pests, and any other dirt, ensuring your mix is ready to go for your next gardening project.
Tips for a Successful Sand-Potting Soil Mix
Be specific with sand
When it comes to choosing sand for your potting mix, it’s important to be picky. Not all coarse sand is the same, and selecting the right type can make a big difference for your plants.
Aim for river sand and horticultural sand. These types are usually cleaner and free from salts and other contaminants.
Mind the weather
Mixing your soil and sand is best done on a calm day. Windy conditions can cause some real headaches.
The wind can blow away the fine particles in your mix, which are important for texture and consistency, so your plants might not grow as well if you lose them.
Test the pH
Every plant has its favorite soil pH, and this can really impact how well it grows. Some plants love acidic soil, while others do better in alkaline conditions. Checking the pH of your soil mix is a key step to make sure your plants are happy.
To check your soil pH, you can buy a simple pH tester. It’s easy to use and gives you a quick reading of whether your soil is more acidic or alkaline. With this information, you can adjust the pH to match what your plants need.
Incorporate mycorrhizae
Adding mycorrhizal fungi to your soil mix can do wonders for your plants. These are beneficial fungi that team up with plant roots, forming a symbiotic relationship.
When mycorrhizal fungi are present, they extend the root system of your plants far beyond its original reach. This means your plants can access more water and nutrients from the soil.
FAQs About Adding Sand to Potting Mix
Do I need to sterilize the sand before adding it to the potting mix?
Sterilizing the sand can be a good precaution to eliminate pests, pathogens, and weed seeds. You can sterilize sand by spreading it thinly on a baking sheet and heating it in the oven at 200°F for 30 minutes.
Can adding sand to potting mix harm my plants?
Adding the wrong type of sand or incorrect proportions can harm plants by reducing drainage and aeration. However, using coarse sand in the right ratio can be beneficial. It’s best to always consider the specific needs of your plants when adjusting the mix.
Can all plants benefit from sand in their potting mix?
Not all plants will benefit from added sand in their potting mix. Plants that thrive in well-draining soil, like succulents and cacti, benefit the most. Plants that prefer more moisture-retentive soils, such as ferns, may not thrive in sand-amended mixes.